
The Buy Now Button module lets you add a separate Buy Now button that adds the product to the cart and sends shoppers directly to checkout, skipping the cart page.
Important Note:
- The module works with simple and variable products that can be purchased.
- For variable products, the product page needs to have an Add to Cart modules so shoppers can select a variation.
Let’s see the settings in brief and how to make better use of them —
Content Tab #
This tab includes the essential settings for selecting the product, customizing the button, and controlling what happens after shoppers click it.
Content #
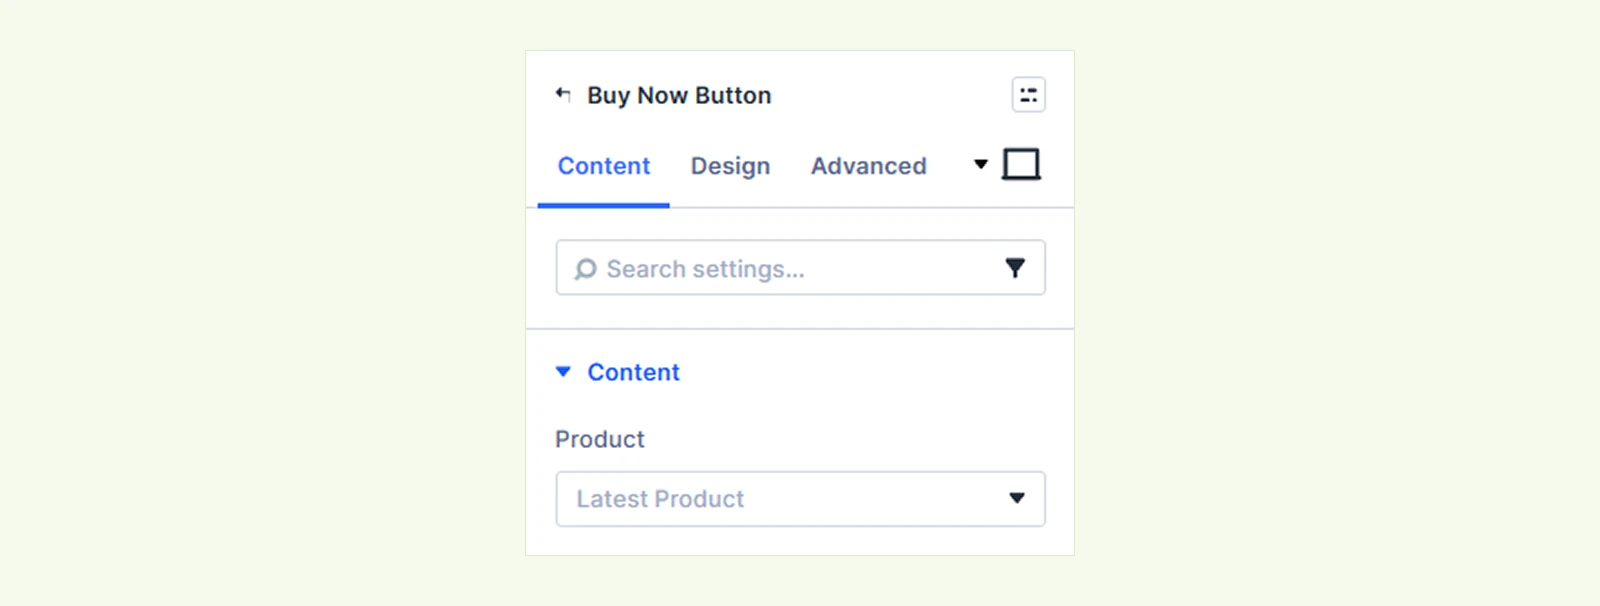
- Product: Choose which product the Buy Now button should purchase. You can use the current product, latest published product, or select a specific product.
Button #
Use these settings to customize the button content, icon, hover effect, and loading state.
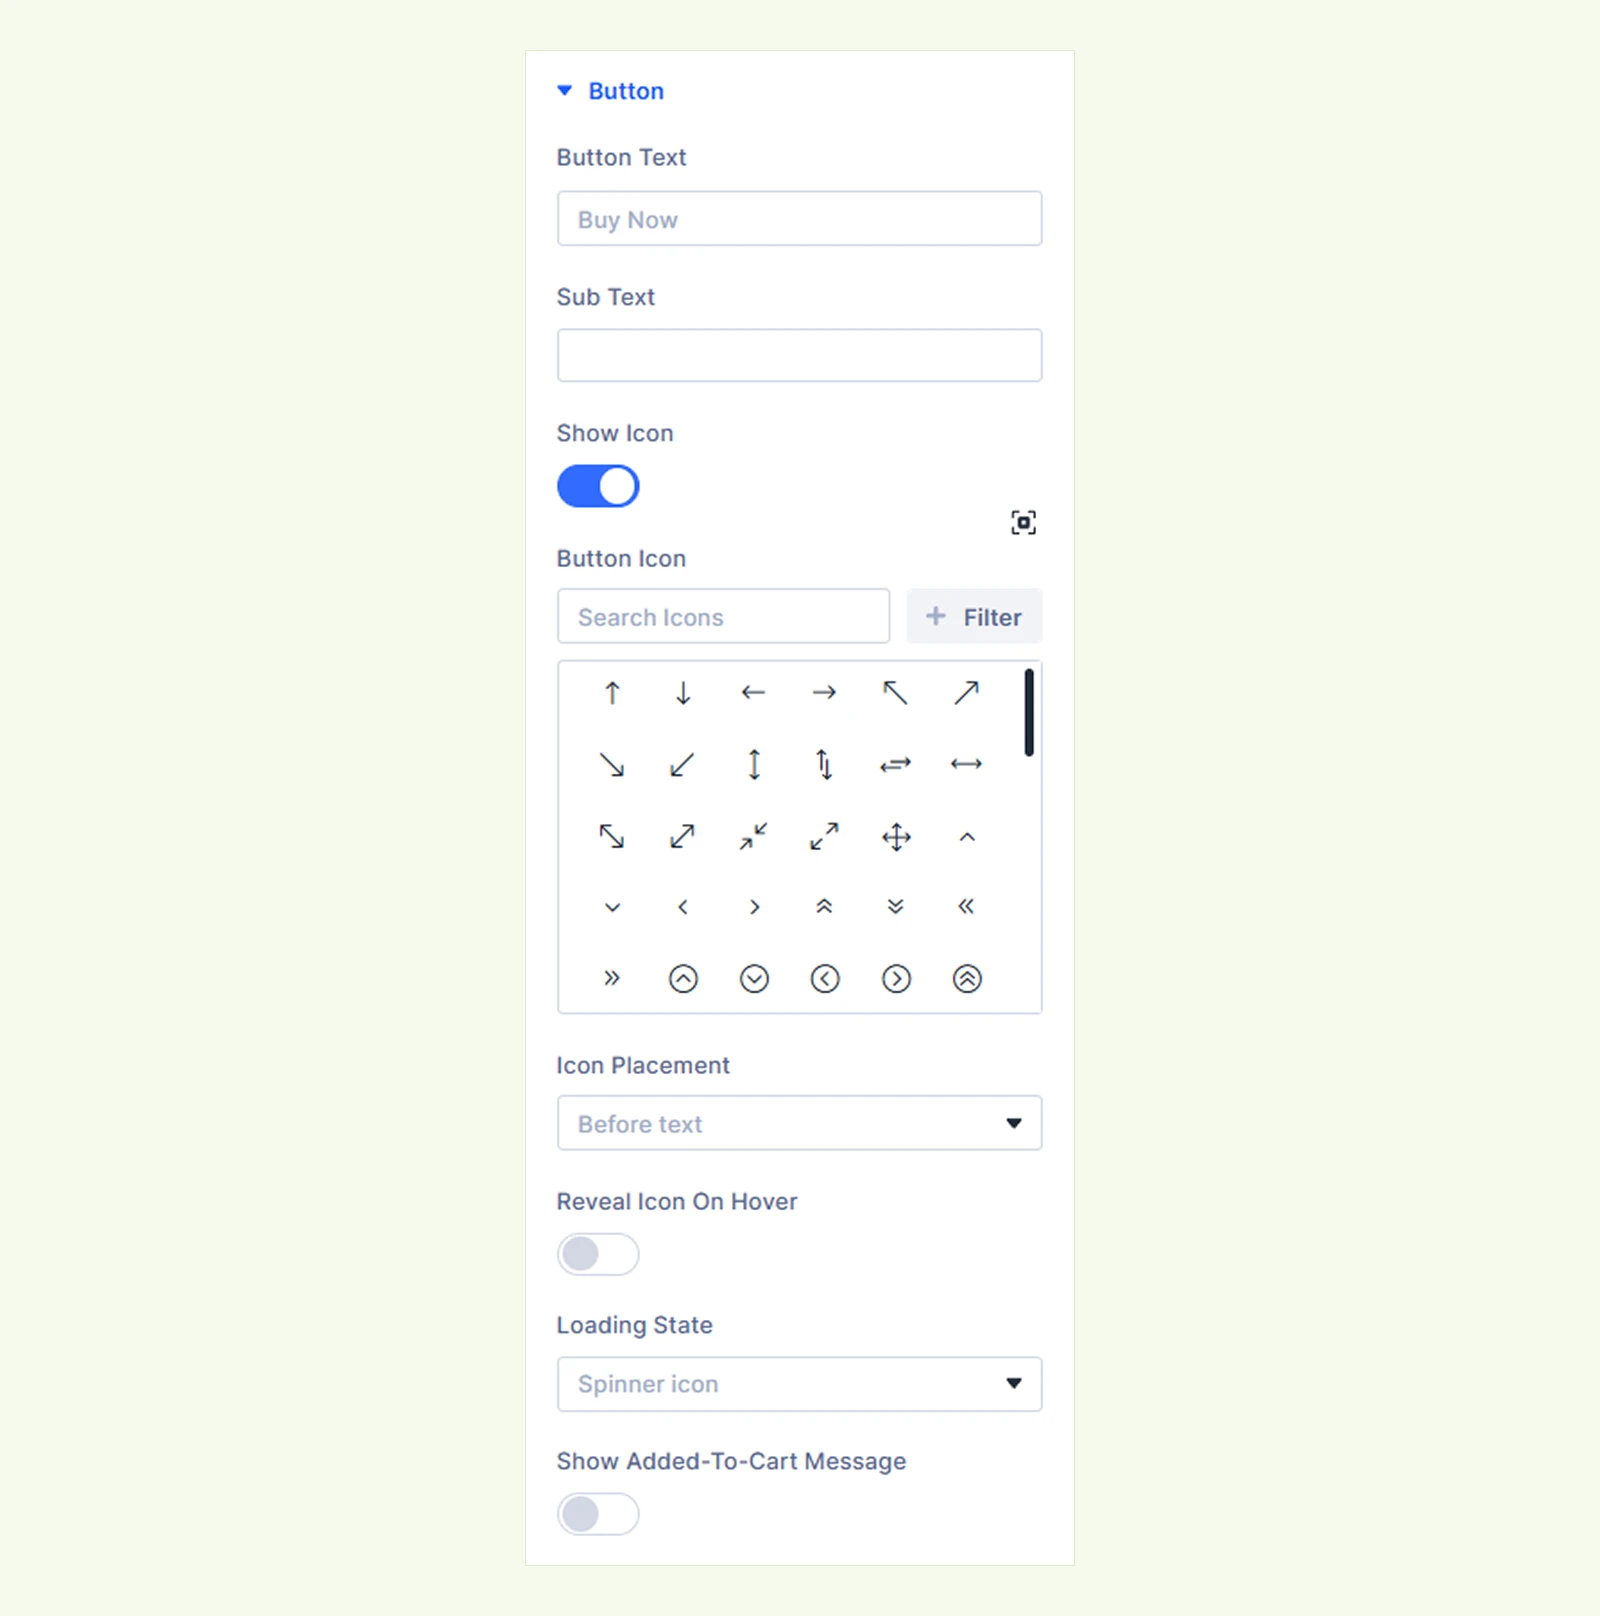
- Button Text: Enter the text displayed on the button.
- Sub Text: Add optional supporting text below the button label, such as Free shipping.
- Show Icon: Show or hide an icon on the button.
- Button Icon: Choose the icon displayed on the button. (Available only when Show Icon is enabled.)
- Icon Placement: Choose where the icon appears relative to the text. You can choose from Before Text, After Text and Above Text.
- Reveal Icon on Hover: Show the icon with a reveal effect when visitors hover over the button. (Available only when Show Icon is enabled.)
- Slide From: Choose the direction from which the icon appears.
- Bottom
- Top
- Left
- Right
- Slide From: Choose the direction from which the icon appears.
- Loading State: Choose what appears after the button is clicked while the shopper is being redirected.
- None
- Spinner Icon
- Loading Text
- Loading Text: Enter the text shown during loading. (Available only when Loading State is set to Loading Text.)
- Show Added-to-Cart Message: Show or hide WooCommerce’s added-to-cart message after the product is added.
Behaviour #
Use these settings to control where shoppers are sent and what products go to checkout.

- Send Shopper To: Choose where shoppers are redirected after clicking Buy Now.
- Checkout Page: Sends shoppers directly to your WooCommerce checkout page.
- Custom URL: Sends shoppers to a page you specify.
- Custom URL: Enter the page where shoppers should be redirected.
- What Goes To Checkout: Choose what stays in the cart when Buy Now is used.
- This Item Plus the Existing Cart: Keeps existing cart items and adds the Buy Now product.
- Only This Item: Temporarily sets other cart items aside so only the Buy Now product goes to checkout.
Note: Custom URLs must be on the same website. If an external URL is entered, shoppers are sent to the normal checkout page instead.
Design Tab #
This tab lets you customize the appearance of the Buy Now button, icon, sub text, and module.
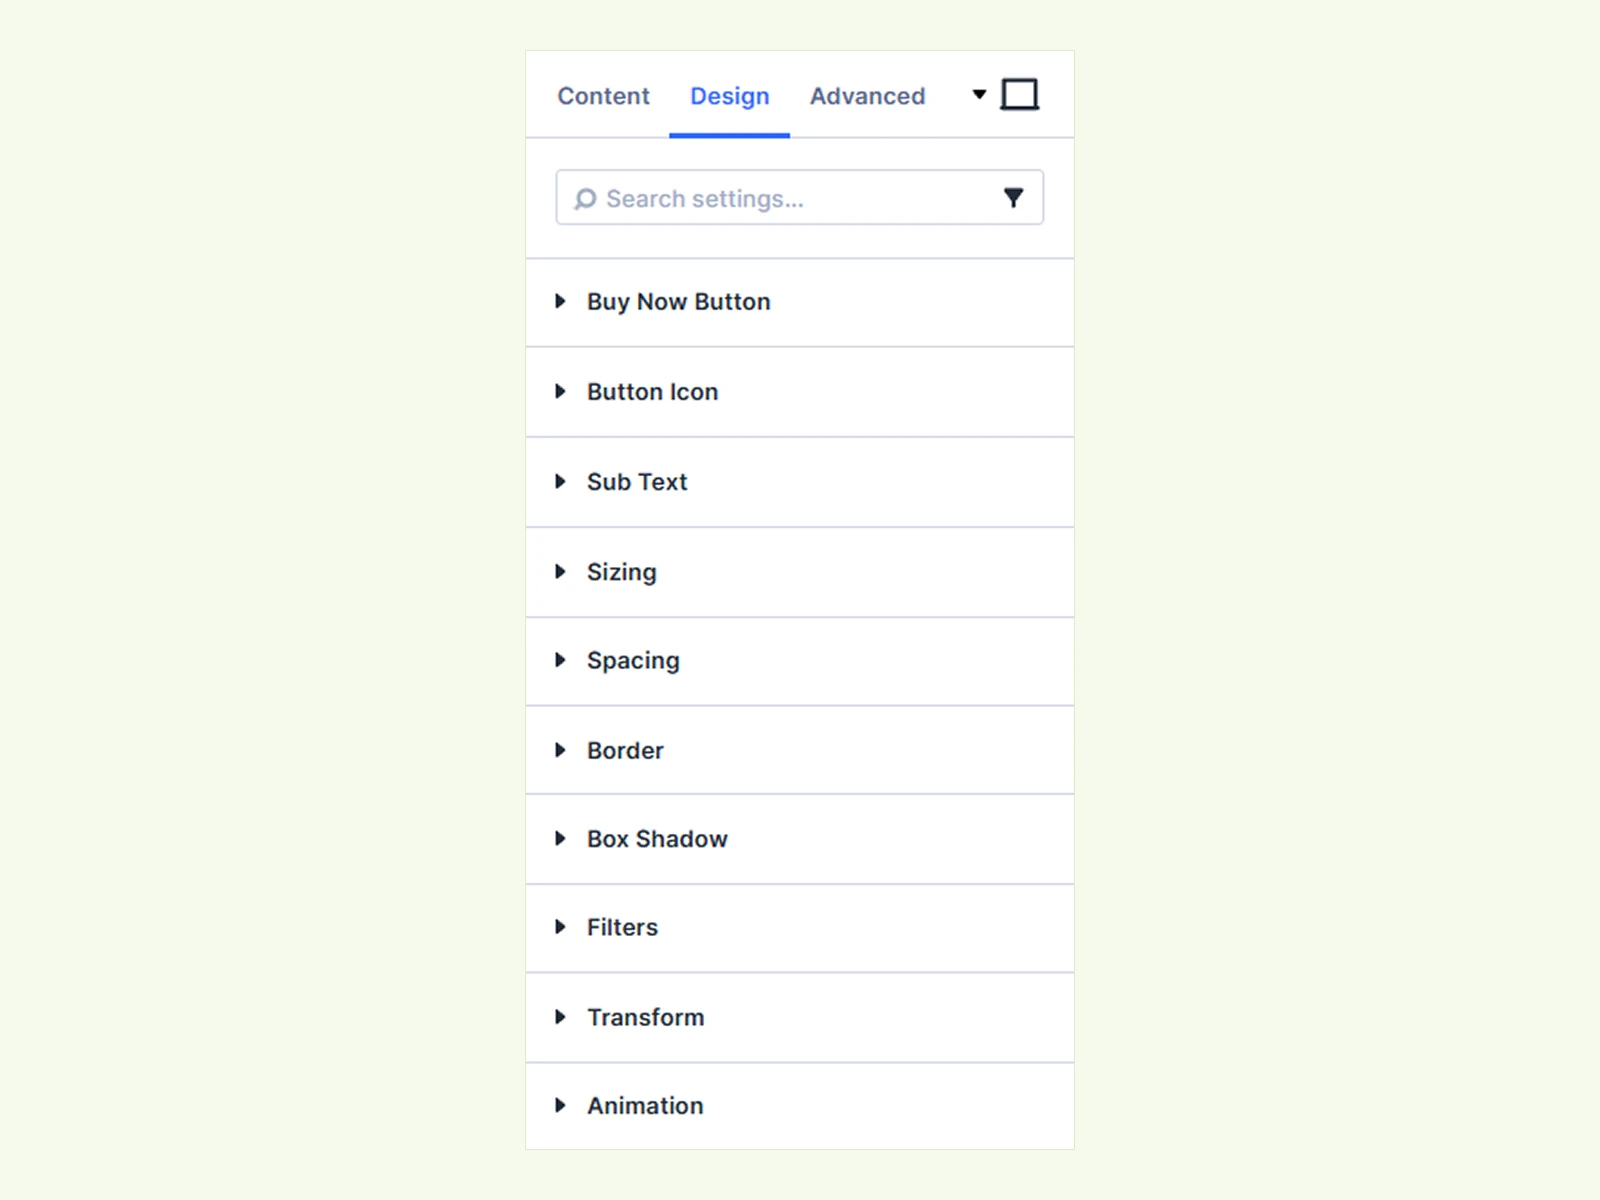
Buy Now Button: Customize the main button using settings for text, background, border, sizing, spacing, and box shadow.
Button Icon #
Customize the icon displayed on the button. It’s available when Show Icon is enabled.

- Icon Size: Adjust the size of the button icon.
- Icon Color: Set the icon color.
- Spacing: Control the space around the icon.
Sub Text: Customize the typography and spacing of the optional text displayed below the button label.
Sizing: Adjust the width, height, and alignment of the module.
Spacing: Add custom margin and padding to the module.
Border: Customize the border style, width, color, and individual sides.
Box Shadow: Add shadow effects to the module.
Filters: Apply color filters to change the module’s appearance.
Transform: Scale, rotate, move, or skew the module.
Animation: Apply reveal animations and customize the animation type, duration, delay, and more.
Advanced Tab #
This tab provides additional settings for advanced users who want more control over the module with custom CSS, conditions, visibility settings, and more.
Need Help? #
If you have any questions or need assistance, contact our support team: [email protected]


